How to Get a Sysdiagnose File on iPhone (Buttons, Wait Time, Where It's Saved)
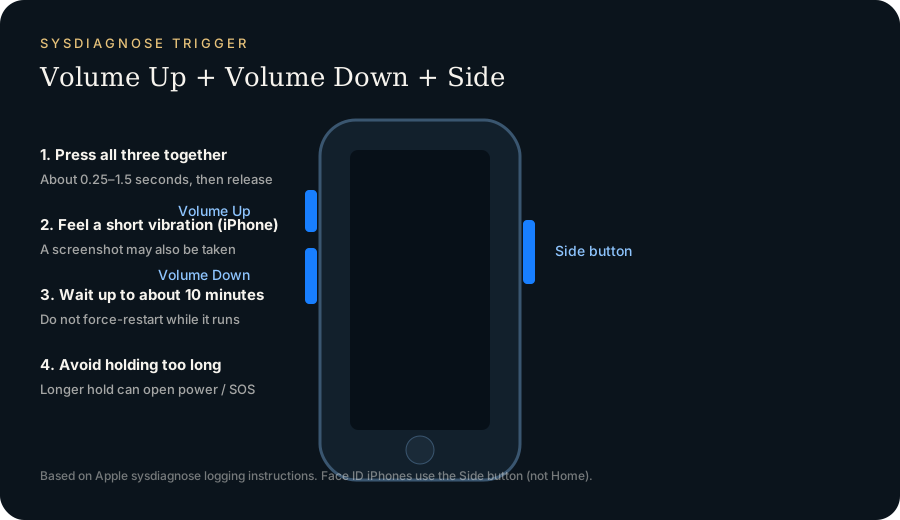
Short answer: press Volume Up + Volume Down + Side button together for about one second, then let go. You'll feel a short vibration. Wait about 10 minutes, then open Settings → Privacy & Security → Analytics & Improvements → Analytics Data and tap the newest file whose name starts with sysdiagnose_. Use the Share button to save it to Files.
That's the method from Apple's own logging instructions. The rest of this page covers each step and what to do when it doesn't work.
1. Trigger the capture
| iPhone | Buttons |
|---|---|
| Face ID models (iPhone X and later, incl. 16 and 17) | Volume Up + Volume Down + Side |
| Home-button models (SE 2nd/3rd gen, 8 and earlier) | Volume Up + Volume Down + Side (or Top) |
Press all three at once and release after about 1 to 1.5 seconds. A short buzz confirms the capture started, and a screenshot may also be saved. If the power-off or Emergency SOS slider appears, you held too long. Cancel it; the capture may still have started.
Can't get the timing right? Use AssistiveTouch. Turn it on under Settings → Accessibility → Touch → AssistiveTouch, then Customize Top Level Menu, tap a slot, and choose Analytics. Tapping that button starts a sysdiagnose, and iOS shows a banner when it begins.
2. Wait
Gathering runs in the background. Apple advises allowing up to about 10 minutes. Keep the phone on, and don't restart it during the capture.
3. Find the file
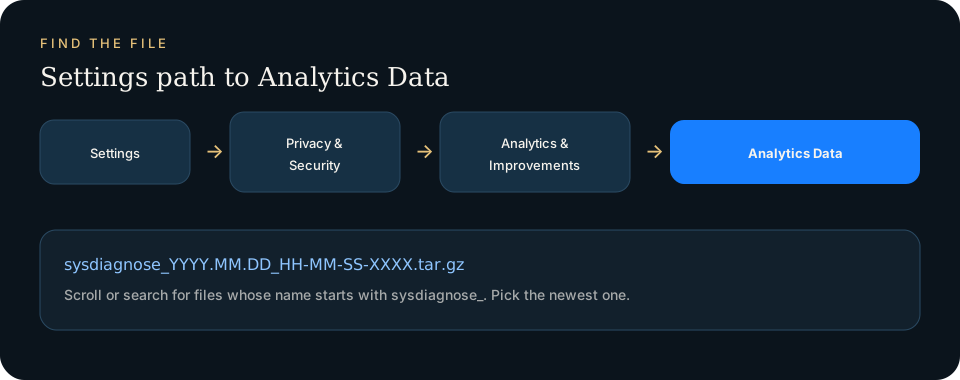
Open Settings → Privacy & Security → Analytics & Improvements → Analytics Data. The list is long and sorted alphabetically, so scroll to s. The file is named like:
sysdiagnose_2026.10.16_10-15-33+0800_iPhone-OS_iPhone_<build>.tar.gz
The date and time tell you which capture is yours.
4. Save or send it
Tap the file, then the Share icon (top right), then Save to Files, AirDrop or Mail. These archives are commonly hundreds of megabytes, so Files or AirDrop is more practical than email.
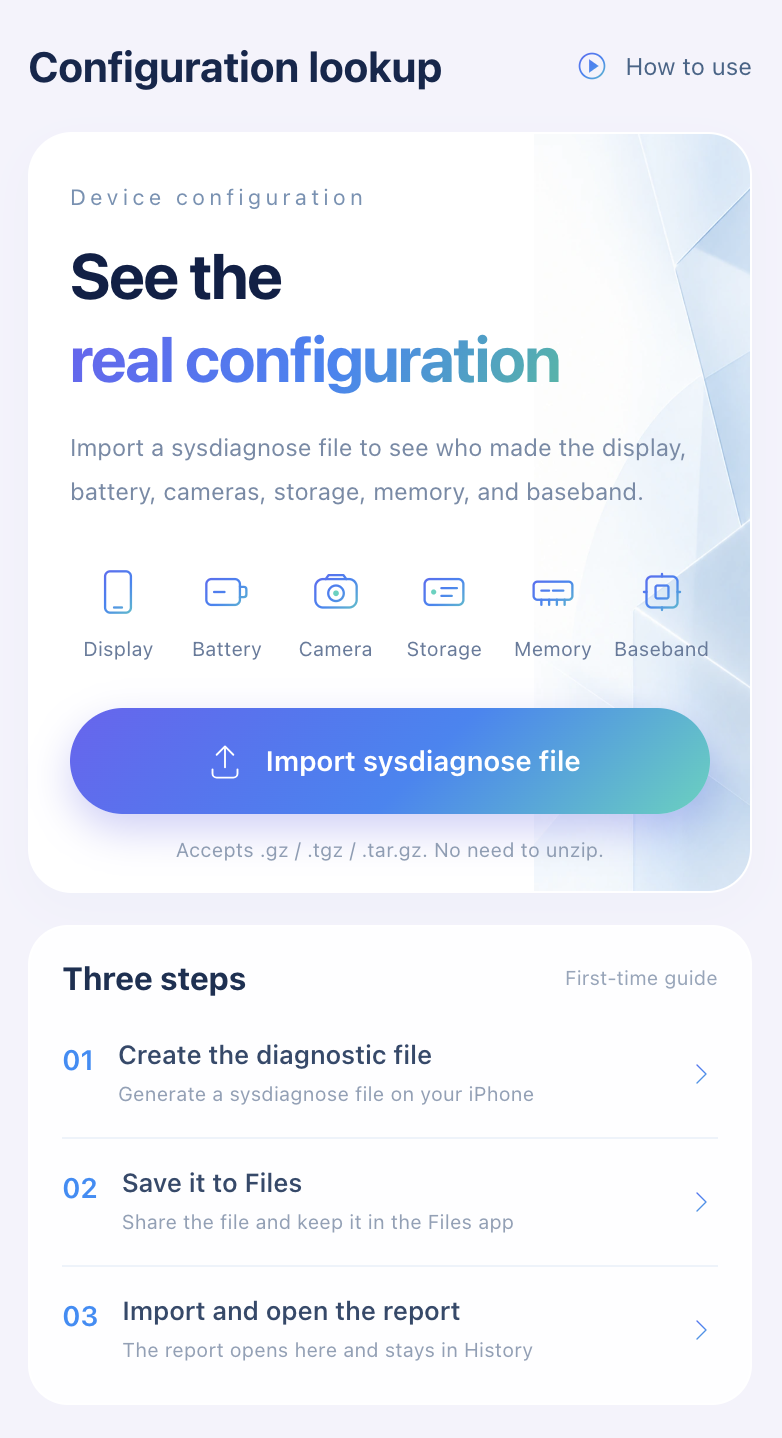
To use it here: open /lookup/ in Safari on the same iPhone and import the file straight from Files. It accepts .tar.gz, .tgz and .gz, so there's no need to unzip it first.
Troubleshooting
| Problem | Likely cause | Fix |
|---|---|---|
| No vibration | Press too short, or buttons not simultaneous | Retry, or use AssistiveTouch |
| SOS / power slider appears | Held too long | Cancel; check Analytics Data after 10 min anyway |
No sysdiagnose_ file after 10 min |
Capture still running or never started | Wait 5 more minutes; then re-trigger |
| Analytics Data is empty | iPhone Analytics sharing is off | Turn on Share iPhone Analytics on the Analytics & Improvements screen, then capture again |
| Can't share: not enough space | Archive is large | Free a few GB of storage, then share |
| Lookup shows "Unknown" for a part | That field isn't in this archive (iOS version, aftermarket part) | Capture again on the latest iOS; compare with Parts and Service History |
Is it safe?
Capturing a sysdiagnose doesn't change, reset or slow down your iPhone. The archive does contain detailed logs, including device identifiers and app usage, so share it only with people or tools you trust. Copies you saved to Files can be deleted like any other file.
What you can do with the file
- See which company made your screen: Samsung, LG or BOE
- See your battery maker and health: Desay, Sunwoda, Simplo or ATL
- See your camera module makers: LG Innotek, Cowell, Foxconn
- The complete parts check: Are my iPhone parts original?
Import a sysdiagnose file to see the display, battery, camera, storage, memory and baseband makers in one report. Lookups use a paid quota.
Open the lookup tool